Sunday, January 26, 2014

Pain Hawaiian

I have been wanting to make this bread for AGES, but I had been unable to find macadamia nuts anywhere. I finally found some and was so excited! We had this bread with our "Sunday Soup" and it was perfect.
Sundays are very busy for us, so a few months ago I decided to start making it at least a little easier. Every Saturday night I  put together a soup in the crockpot, cook it on low all night and then keep it on warm for most of Sunday. It makes a great lunch for those that want it, and then dinner for all of us! I have loved it so much when summer comes I think I will do "Sunday Salads." :)
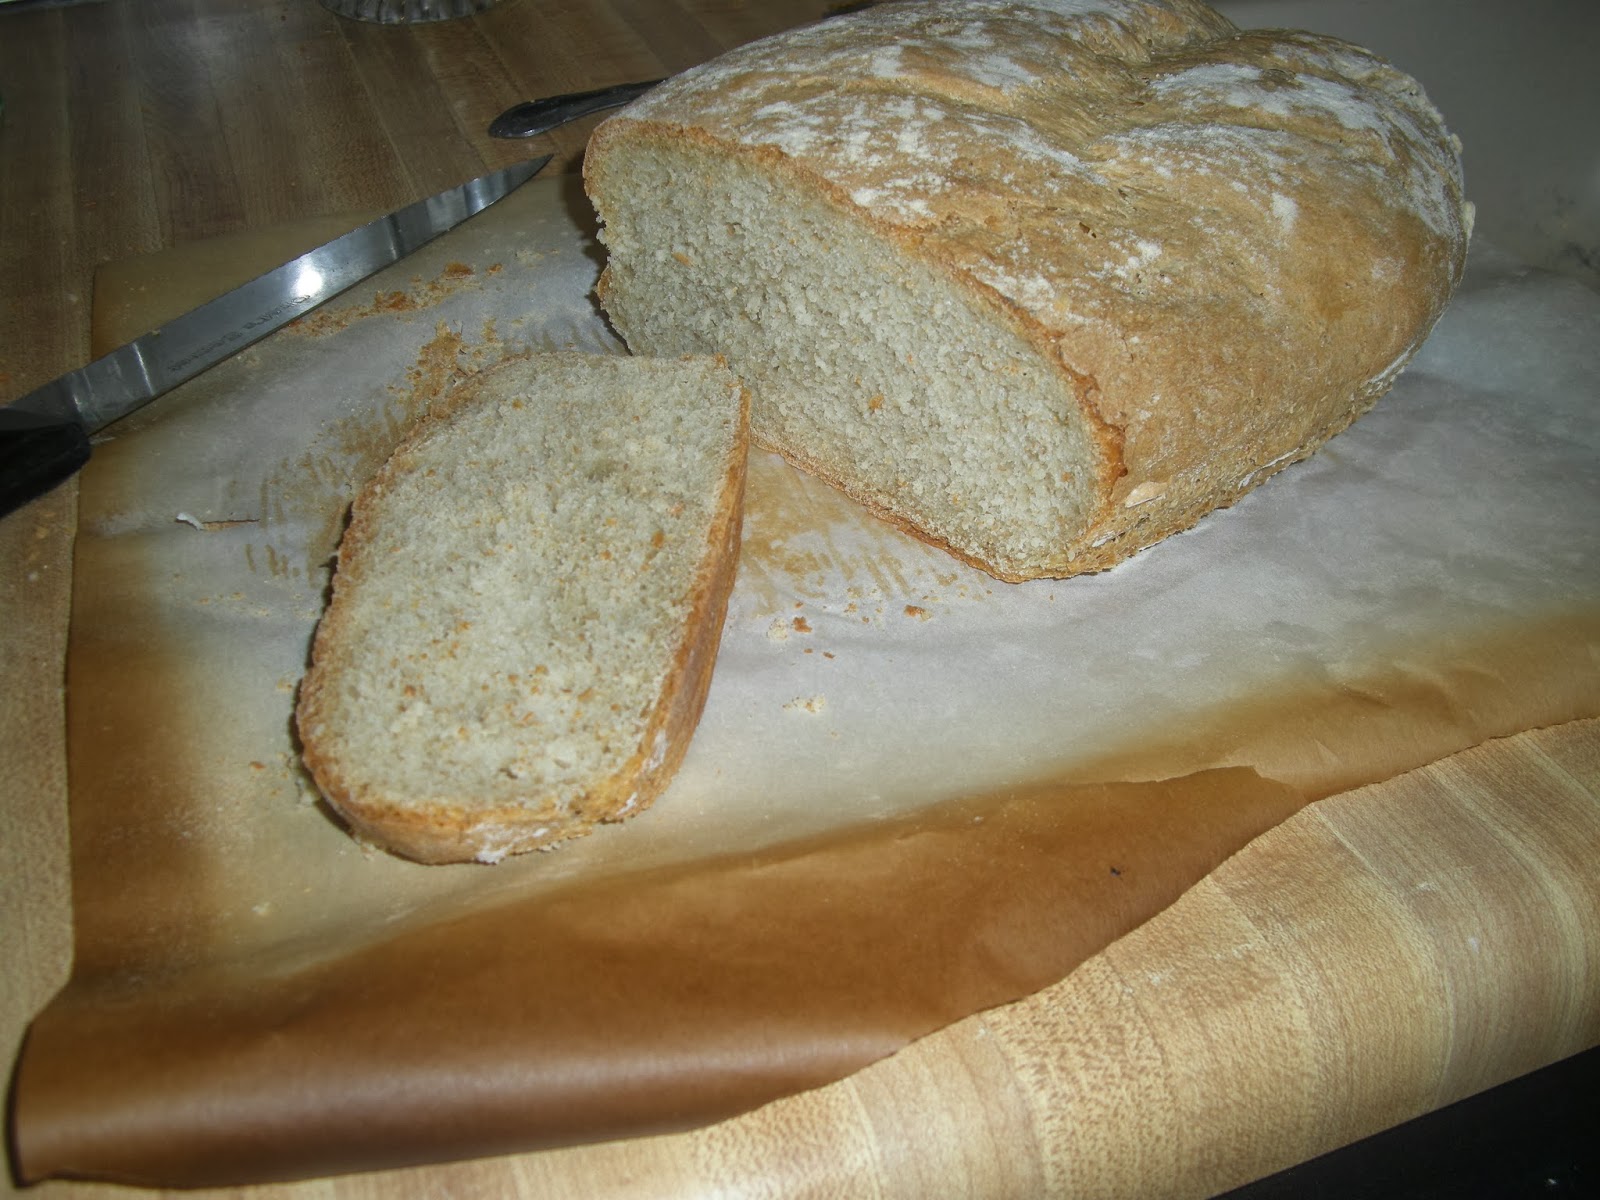
Think of this as a french bread, but with nuts added. It was also yummy as garlic toast on day #2.
Note that it does take a lot of rising time. The sponge rises about an hour, then the main dough 1 1/2-2, then 45 minutes on the stovetop, and then it bakes for 30-35 minutes.

To make the sponge: 2 cups of warm water, to which you sprinkle over the top 1 tablespoon (or 1 packet) of active dry yeast, a pinch of sugar (Or a couple drops of honey), then whisk in 1 1/2 cups of unbleached all purpose flour. (I think whole wheat would also work well)
After 30 minutes to an hour the sponge will be all fluffy and you can add the following: 1/2 a cup of unbleached all purpose flour, 3 tablespoons oil (the recipe recommends almond or walnut oil, but I rarely have these so I just used canola oil), 1/2 a teaspoon of salt and 1 1/2 cups coarsely chopped macadamia nuts.  (I just did a couple of pulses in the food processor, it wasn't necessarily coarse, but I liked how it turned out in the bread!)
Then add the remaining 3 1/2-4 cups of flour half a cup at a time. I like to measure all the flour it asks for into a small bowl, that way I don't forget how much I have added and I can just sprinkle a little at a time without measuring...
Knead for about five minutes, dusting with flour as needed. Cover with plastic and let raise 1 1/2-2 hours in a warm room until doubled. During the winter I usually turn the oven on and sit the bowl on the stove top, otherwise it takes much longer to raise.
After it has risen you can shape into either 3 round loaves, or two oblong. Place on a greased or parchment lined pans four inches apart. Let raise another 45 minutes. If you would like you can get your kitchen scissors or a serrated knife and make slash marks along the top, about 1/4 an inch deep right before baking.

20 minutes before baking preheat oven to 450 F if you have a baking/pizza stone, or 400 if you don't. Place the pan in the oven (with the stone on the bottom rack) and turn the oven temperature down to 400 F. Bake 30-35 minutes. Cool.
I let it cool about 10 minutes before serving.
A delicious addition to our sunday soup!

Sunday, January 19, 2014

Tuscan Peasant Bread

Very tasty! The idea behind this bread is that you serve it with a meal the day you make it. It is recommended that you have it eaten within twelve hours of baking. It has a small amount of salt so it won't mold, but it will dry out really fast.
We tried it with some white sauce flavoured with broth from a beef stew the day it was baked, and then day two with some lentil soup. Delicious! It makes just one loaf. Keep in mind that it rises several times, bakes for a long time, and cools for a long time. So make it early!

In a large bowl: 2 cups of warm water, 2 1/2 teaspoons of active dry yeast (a scant packet). Stir until yeast is dissolved. Add 1 cup of unbleached flour and 1/2 cup whole wheat flour. Mix well, then cover bowl and let raise about an hour.
After an hour add: A pinch of salt, a pinch of sugar, and another cup of unbleached all purpose flour.  Add the remaining 1 1/2 cups of flour  half a cup at a time. (I ended up using 1 1/2 cups more flour then it called for)

Knead vigorously for at least 5-8 minutes. Dust with flour as needed. Sprinkle some flour in the bowl, then sprinkle more over the ball of dough after placing it in the bowl. Cover with plastic and let raise until doubled. 1-1 1/2 hours.
Lightly flour a parchment covered baking sheet. Shape the dough into a round or an oblong loaf. I think what I ended up with was something in between the two. Dust the top of the loaf with some more flour. Let rest for 20 minutes. Preheat oven to 425 F 20 minutes before baking. (You can slash a pattern in the top of the bread if you want to, I sorta forgot..three slashes for the oblong, and a tic-tac-toe pattern for the round)

Place the pan on the lowest rack of the oven. I sat the pan on my 10 inch cast iron before placing it on the lowest rack, and I moved the other oven rack to the top and sat a pizza stone on it.
The actual directions tell you to line the lowest and highest racks with baking stones. But sometimes you've gotta work with what you have, right?

Bake 55-60 minutes. The loaf will look done around 45 minutes, but really does need the extra 15 to finish baking the inside.

     Transfer to a cooling rack and cool about 2 hours before serving.

Sunday, January 12, 2014

Plum Crumb Cake

Do you ever have one of those days, you know the ones when your brain doesn't turn on? Well that happened the first time I made this. For some reason I just thought it wasn't done, so I continued baking it. And it burned, and it was nasty. (I'm sparing you the picture!!)

My daughter wanted a piece for breakfast before leaving for school (yes, I'm one of those evil Mom's that lets my kids have refined sugar...)and when she saw what the piece looked like that I was offering her she politely asked for cheerios. (It's okay to laugh now) I later realized I had been putting the toothpick right through one of the plums, no wonder it hadn't seemed done! I was determined to make it up to my daughter so I made another one and had a nice piece for her when she got home that afternoon. Since it's December I just used canned plums, but will plan on trying it this summer with the fresh fruit!
In a small bowl or mug: 1/4 a cup warm water, over which you sprinkle 1 packet (or 1 tablespoon) active dry yeast and a pinch of sugar (honey also works well).

In a large bowl: 1/2 a cup warm buttermilk, 1/4 cup sugar, 1/4 a cup vegetable oil (I use canola usually), 1 large egg, 1/2 a teaspoon salt, and grated zest of one lemon (or you can use 1/2 a teaspoon of lemon extract). Mix well, then add the yeast mixture and 1 cup of unbleached all purpose flour. Beat until smooth, then add remaining 1 1/2 cups all purpose flour and no more. The batter will be stiff and sticky.
Pour into a generously greased 9 inch spring form pan (or a 9 inch quiche pan at least 2 inches deep with a removable bottom). Scrape batter into the pan, then with lightly floured fingers spread around to fill the pan evenly. Cover with plastic wrap and let rest in a warm area until slightly puffy. Probably around 30 minutes.
In a medium bowl: 2/3-3/4 a cup of sour cream, mixed with 1 teaspoon vanilla extract. Set aside.
To prepare the crumb topping:
1/3 a cup unbleached all purpose flour, 1/4 a cup sugar, 1/2 a teaspoon ground cinnamon, dash of ground mace. Cut (Or mix with your hands) 4 tablespoons unsalted cold butter, cut into pieces.
2 cups fresh red Santa Rosa plums, or Italian prune plums, pitted and sliced. (Canned worked fine as well)
Pour the sour cream evenly over the batter. Distribute the plums.
Cover with the crumb topping.
The recipe calls for 400 F but I actually baked on 375 F. You can decide depending on where you live. Bake about 45 minutes, or until top is browned. Let cool 15 minutes. Serve warm or cold, store leftovers in the refrigerator.
Enjoy!


Sunday, January 5, 2014

Squash Cloverleafs

These are AMAZING!! You should make them today!! I used butternut squash, which I have some to realize it the only thing I need to make all sorts of squash and pumpkin dishes. You should all try a pumpkin pie with butternut!

This recipe reminded me of orange rolls a lot. In fact, I think they are better then the last batch of orange rolls I made. When my husband was young his Mom would always make orange rolls for Christmas, so we have carried on the family tradition. I should have made these a long time ago. (Plus, it's a great way to get your family to eat squash...bahahaha)
In a mug or small bowl: 1/4 a cup of warm water, 1 tablespoon (or 1 packet) active dry yeast, and a pinch of brown sugar.
In a large bowl: 3/4 a cup warm milk, 1/4 a cup orange liqueur, such as Grand Marnier (I substituted 1/2 a teaspoon of orange extract) 1 cup winter squash or pumpkin puree, 3 tablespoons brown sugar,  and grated zest of one orange (probably around 2 tablespoons..), then 6 tablespoons (3/4 a stick) of unsalted butter, melted.
Add the yeast mixture and two cups of unbleached all purpose flour.  Beat until smooth and creamy, about two minutes.  Gradually add the remaining 2 1/2 cups of flour, half a cup at a time. When the dough clears the bowl and isn't to sticky (but still soft) move to a work surface and knead for 3-4 minutes.
Place in a greased bowl and cover with plastic wrap. Let raise until doubled, about an hour.
Gently deflate the dough. Lightly grease 18-24 muffin cups. (I used 18), Divide the dough into four portions, divide each of the four into three, then shape these into balls about the size of walnuts.  (about an inch wide)
Arrange three balls into each of the muffin cups. Cover loosely with plastic wrap and let raise about twenty minutes (or until doubled). Preheat oven to 400 F  and bake 12-15 minutes.
Cool on wire racks and see how long they last!! Haha!

Followers